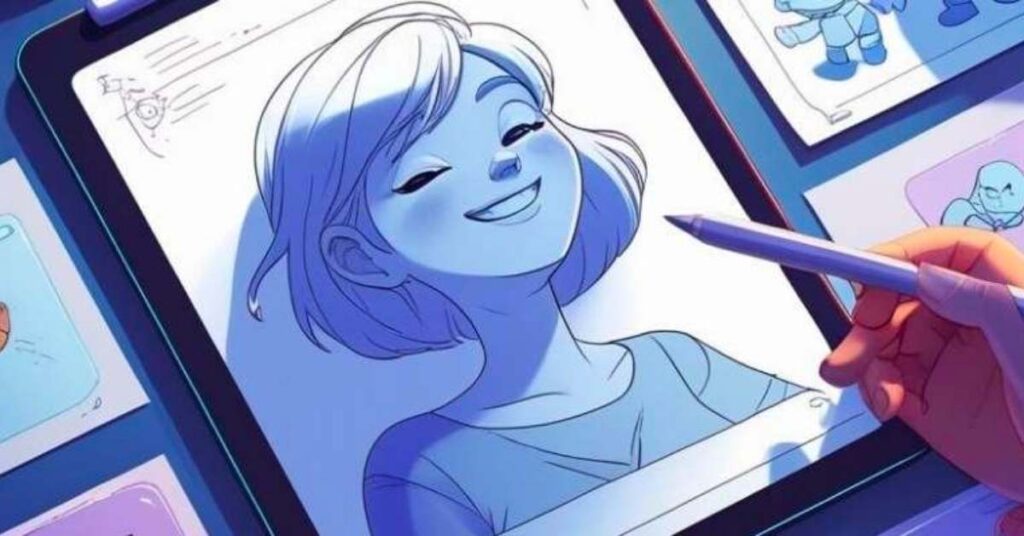
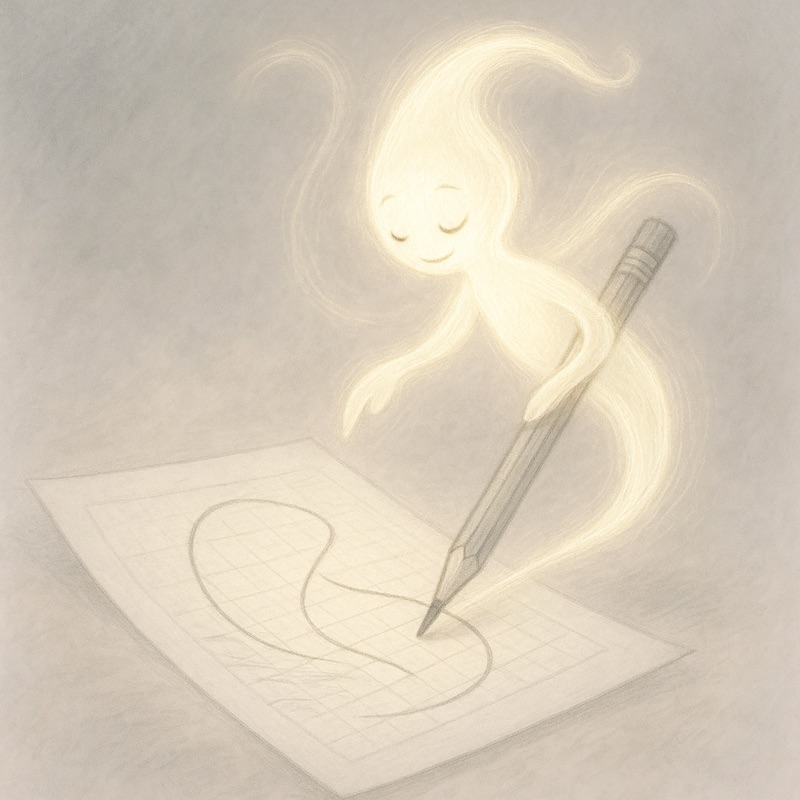
When LeeAnne first opened an animation app, the blank canvas felt as wide as a movie screen and the silence of that first frame felt loud. She wanted to begin, yet every tool and timeline seemed to shout for perfection, and that’s a fast way to freeze. What she soon learned—and what will make this week feel manageable—is simple enough to try today. The fastest way to begin without getting overwhelmed is to choose tiny, repeatable actions, use simple tools that feel fun, and track visible progress week by week. Keep the steps small and momentum will start to carry you.
To make this week clear and doable, we’ll move through four parts in order: first, start with one tiny motion study to learn timing and spacing; then choose tools that feel friendly enough to open again tomorrow; next, build a simple seven-day plan so practice becomes a rhythm; and finally, share a small loop, ask one question, and make one focused tweak. By the end, you’ll have a first loop, a routine you can keep, and proof you’re moving. That simple roadmap keeps you grounded while you build confidence one step at a time.
Let’s begin with a tiny motion study so that first step feels concrete. Each part that follows will build on what this first exercise teaches you about control, timing, and payoff.
Start Small—Think of It Like Doodling in Motion
Beginning with a single, tiny motion turns a blank page into something playful you can actually finish, and finishing is what builds confidence. Think of it as doodling that happens to move, a quick study that gives you timing and spacing without demanding a character or polished design. The following steps will help you set up that first loop and see motion come to life for the first time. You’ll start small, stay curious, and build from movement instead of ideas.
- Open a beginner app like FlipaClip or install Krita on desktop, then create a small canvas you won’t mind experimenting on.
- Animate a simple circle for 10–12 frames along an arc, letting it fall a little faster on the way down and ease gently near the top so the motion reads clearly.
- Play the loop a few times and note where spacing snaps or drags, because those tiny adjustments are how weight and rhythm begin to feel right.
These first passes don’t need polish; they only need movement that teaches your eye what timing actually looks like. Every repetition will make the motion feel more natural and give you a better sense of what looks right.
LeeAnne drew a 12-frame bounce that hit the ground around frame six, squashed as it landed, and stretched on the way up, and the first version felt choppy until she tightened spacing near the ground to sell the weight. That tiny improvement was enough to prove the study was working, and it gave her a clear reason to come back tomorrow. Finishing one small loop gave her both momentum and curiosity to keep exploring.
Transitioning from that first playful motion, it’s time to look at the tools that make showing up tomorrow easier. Building comfort with your setup ensures that every next session starts smoothly.
Choose Tools That Make Learning Feel Fun
The best tool is the one you will open again tomorrow, so the setup should feel friendly, light, and ready before you even think about features. The goal is to make returning to practice easier than hesitating so the habit forms without a fight. Below are a few ways to make your setup simple and easy to return to. They’ll help your workspace feel like an open sketchbook rather than a task list.
- Pick one app and stick with it for seven days so your attention goes into drawing rather than menu hunting or second-guessing your choice.
- Create a reusable template at 1080×1080 with 12 fps and 24 blank frames so every session starts with the same simple stage.
- Save each day’s loop into one “Week 1” album so progress stays visible and you can watch your timing improve across the week.
These small constraints reduce decision fatigue and make practice feel welcoming instead of heavy. They make each session feel like a low-pressure continuation, not a restart.
LeeAnne chose FlipaClip on her phone, saved a “W1-Template” at 12 fps with 24 frames, and duplicated it each day so the file always opened ready to draw. Because the project greeted her already set up, she kept moving without the “what now” stall and practice began to feel like a routine she could trust. With comfort replacing confusion, she was ready to create a schedule that would keep that energy going.
Once your tools feel friendly, structure turns practice from an impulse into a rhythm. The next step focuses on making time predictable so learning feels steady.
Build a 7-Day Micro-Plan
Short, scheduled sessions compound skill faster than occasional marathons, and the predictability of a tiny plan keeps motivation steady when energy dips. Think two brief windows each day so the loop of start, finish, and notice becomes normal. Think of the next list as a blueprint for how to practice with rhythm and purpose. It’s not about doing more—it’s about returning often enough that growth becomes natural.
- Use the first two days for bouncing-ball variants such as low bounce, high bounce, or a double bounce so timing and spacing get multiple looks.
- Spend midweek on arcs that drift and settle, like a falling leaf with gentle ease in and ease out, and add a pendulum to feel the swing.
- Close the week by squashing a flour sack on landing, holding, and letting it settle so you feel weight, recovery, and quiet after motion.
- On the final day, review all your loops and give one favorite a short polish so you leave the week with something you’re proud to replay.
A micro-plan removes guesswork so your effort goes into drawing rather than deciding what to do next. When your plan is small enough to repeat, consistency builds naturally.

LeeAnne set two gentle alarms at 8:30 in the morning and 8:30 at night for ten-minute sessions, and by Sunday she had seven loops in her album and one that received a small polish pass. Seeing the row of clips play in order felt like proof that the process was working, and that feeling made week two the obvious next step. The rhythm of a micro-plan made animation part of her day instead of something to plan for later.
When practice feels steady, sharing turns growth into connection. Feedback becomes less about approval and more about learning from what others notice.
Share and Iterate Without the Pressure Cooker
Posting tiny loops with one question keeps the stakes low and the learning specific, which turns feedback into a simple next move instead of a judgment. The aim is to adjust one thing at a time so you can actually see what changed. The quick routine below keeps sharing light and improvement visible. Use it as a recurring habit to stay motivated and keep refining your instincts.
- Export a three-to-five-second loop and share it with one focused question about timing or spacing so replies point you to a single adjustment.
- Make one tweak such as tightening a few frames near the ground or adding a touch of stretch on the fastest part of the motion, then upload a version two.
- Keep both versions labeled “v1” and “v2” so the difference is obvious and you can feel the improvement when you compare them side by side.
This light-touch routine builds confidence because each change is visible and each decision has a reason. As you keep repeating the process, sharing becomes part of how you think rather than something extra you must do.
LeeAnne posted her bounce with the caption “Heavier after frame four,” a friend suggested a little more stretch on frames five and six, and the next pass finally read with the weight she wanted. That simple share-and-tweak loop kept improvement steady without burnout and made showing work feel like progress instead of pressure.
Want structured drills that match your week-one plan? Here’s something worth checking out.
Master Animation Faster with Bloop Courses

Learn the Art of Animation— Step by Step

Final Thoughts
The path from hesitation to momentum is built on choices that are small enough to finish and friendly enough to repeat. Animation moves forward on patience and tiny repetitions, and small steps taken often will carry you farther than perfect plans. This first week combined four essentials: beginning with motion that feels approachable, choosing tools that invite you back, building a short plan you can sustain, and sharing work so improvement becomes visible. Together, these steps form a clear path from blank screen to steady progress. You don’t need all the answers to begin, because a single loop, a friendly tool, and a short plan are enough to create momentum, and that momentum is what turns a blank canvas into motion you can feel. Keep practicing lightly and often; week two begins the moment you press play.
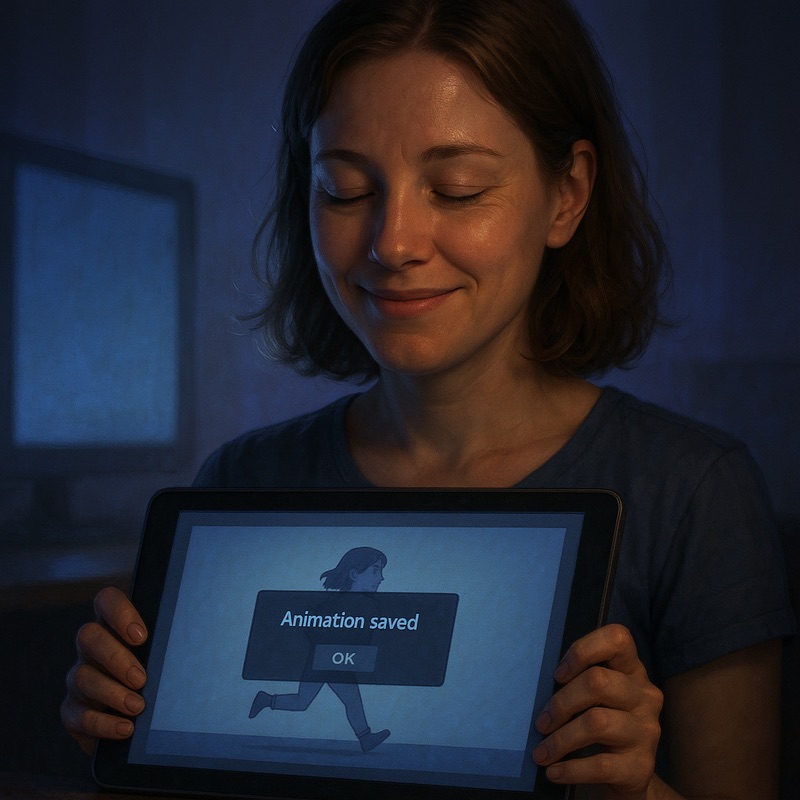
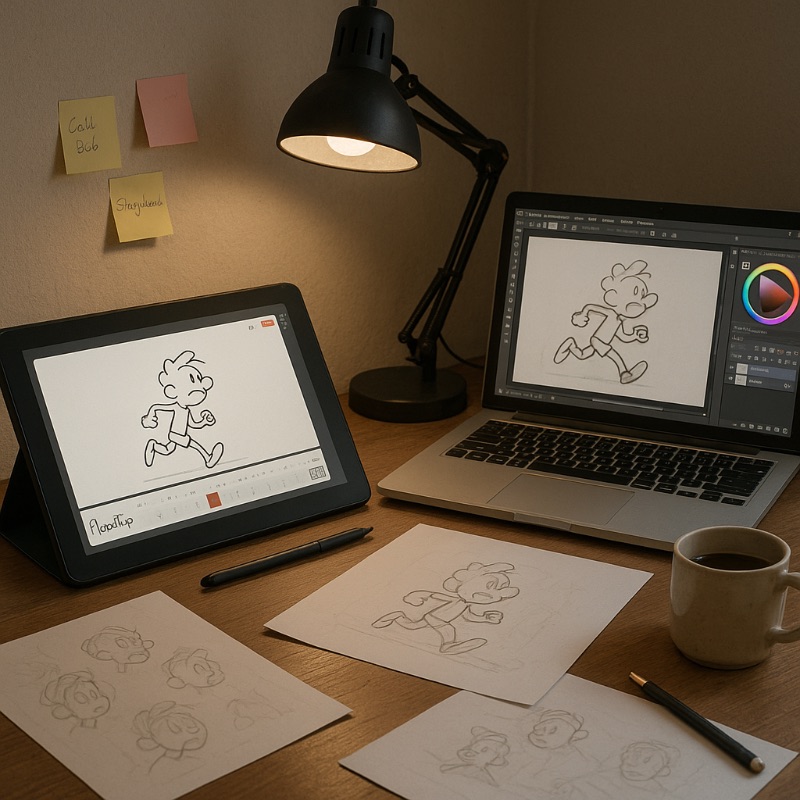
That final image captures the real win of week one: a finished loop, saved and shareable, and the confidence to start the next one. It’s proof that starting small is the most powerful move you can make.
Source Material
These resources reinforce today’s basics so you can revisit core ideas as you practice and connect them to your own studies. They’re chosen for clarity and short learning loops, so you can pair them with your own exercises.
- 12 Principles of Animation – Squash & Stretch (DeeDee Animation Studio) — A clear primer that pairs naturally with bouncing-ball studies.
- Bouncing Ball Tutorial – Alan Becker (YouTube) — A visual walkthrough that highlights timing, spacing, and basic arcs.
- FlipaClip – Official Site — A beginner-friendly frame-by-frame app that keeps setup light.
- Krita – Official Site — Free desktop drawing and animation tools with onion-skinning and a simple timeline.
Each link is a practical companion to the exercises above so you can skim for context, then learn by doing with your own loops. Returning to them after a few sessions will deepen what you already understand.


