Why Krita Is Great for Beginners
When you’re just getting into animation, it’s easy to get overwhelmed by the cost of software and the complexity of pro tools. That’s where Krita comes in. It’s completely free, open-source, and designed with artists in mind—especially those who want to explore frame-by-frame animation.
Whether you’re animating your first bouncing ball or experimenting with character movement, Krita has what you need—without burying you under a mountain of features you’ll never use. And yes, it works on Windows, Mac, and Linux.

Setting Up Krita for Animation
Let’s walk through the basics of setting up your workspace for animation:
- Open Krita and create a new file. Choose the Animation template or set your canvas size (e.g., 1920×1080 px) with 72 DPI.
- Make sure the **Timeline**, **Animation**, and **Onion Skin** dockers are visible. You can activate them via Settings > Dockers.
- Set your frame rate. For simple animations, 12 FPS is a great starting point.
Now your workspace is ready. Don’t worry—you don’t need to understand everything yet. You’re just building your creative playground.
Creating Your First Frames
Let’s animate something simple: a ball bouncing.
- Start on Frame 1. Draw the ball at the top of your canvas.
- Go to Frame 4. Add a new frame and draw the ball mid-air.
- Go to Frame 8. Add another frame—this time, the ball is squashed on the ground.
- Then go back up for the bounce. Frame 12: ball mid-air again. Frame 16: back to the top.
Use the onion skin tool to see your previous drawings faintly behind the current one—this helps you keep movement consistent.
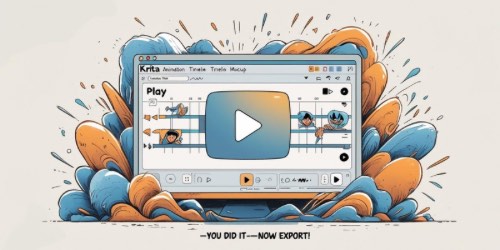
Press play on the timeline… and there it is. Your first animated sequence.
Watch This Beginner-Friendly Tutorial
Ready to see everything in motion? This video walks you through Krita’s animation workspace, timeline, and basic frame-by-frame workflow in under 20 minutes:
This tutorial makes Krita feel approachable if you’ve never animated before—and shows exactly how to get moving.
Exporting Your Animation
To export your animation in Krita:
- Go to File > Render Animation.
- Choose whether you want an image sequence or a video file (using FFmpeg).
- Select your output location and filename.
- Click **Render**—and you’re done!
If you want your animation as a GIF, you can convert it later using a tool like Ezgif or export directly as a GIF from Krita if set up properly.

Final Thoughts
Krita is one of the best tools a beginner can ask for—powerful enough to grow with you, but simple enough not to scare you off. Don’t worry about perfection. Just get your ideas moving. And remember: every animator started with a bouncing ball.
Ready to explore more animation tools that won’t break the bank?


