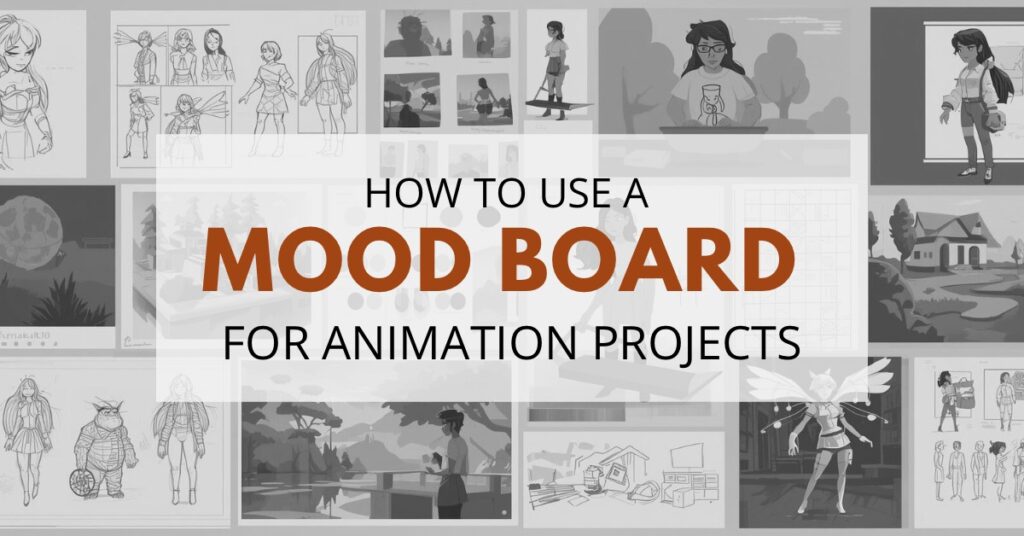
You’re in a review, and everyone has a different idea of what the project should look like. One person imagines a neon cyberpunk world; another sees soft fantasy tones. The discussion drags on, each suggestion pulling the vision further apart. Decision paralysis. Without alignment, deadlines slip, revisions multiply, and trust erodes. In this post, you’ll learn how to create and use a mood board to align your animation project with clarity and confidence before production even starts. The process applies across different needs—character mood boards, environment mood boards, digital workflow boards, and final presentation mood boards—and we’ll walk through how each works in practice.
What a Mood Board Really Does
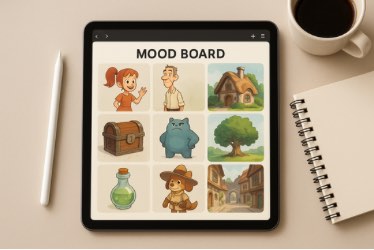
A mood board is more than a collage—it’s a decision tool for animation projects. It takes scattered inspiration and organizes it into a clear visual map so your project’s tone, palette, texture, and shape language are visible at a glance. By pulling in colors, sketches, lighting studies, and material references, you replace vague conversations with concrete direction the whole team can follow.
Imagine you’re pitching your short film idea to classmates. Instead of trying to describe “dark but hopeful,” you pin images of twilight skies, glowing lanterns, and a character sketch with determined eyes. The board itself communicates the vibe, so you don’t have to fight for the right words.
Gathering Inspiration (Without Getting Lost)
Every mood board starts with inspiration, but without boundaries it can quickly become overwhelming. Begin by collecting references—images, sketches, photography, film stills, and notes from real life. Anything that sparks the right feeling deserves a place in your first pass, because the goal of this phase is breadth and discovery rather than perfection.
Picture yourself scrolling Pinterest late at night. You save streetlights glowing in fog, a bold costume design from a movie still, and a photo of cracked pavement after rain. At first it feels random, but these images carry the mood of the story you’re chasing. Later, when you cut half of them, the strongest pieces shine through.
Organizing by Theme
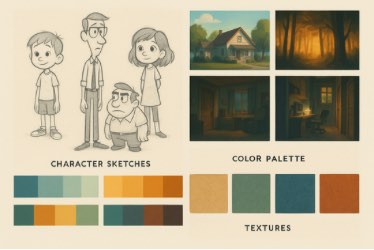
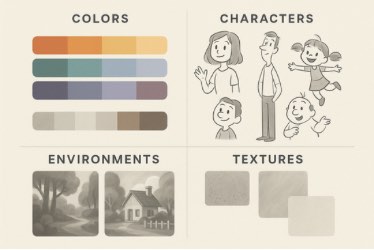
The strength of a mood board comes from organization—it tells your story in parts that make sense together. Once you’ve gathered enough references, sort them so every piece has a job. A simple framework looks like this:
- Colors: Palette, accents, and value relationships that communicate tone.
- Characters: Attitude, silhouette, proportion, materials, and costume hints.
- Environments: Scale, architecture, atmosphere, and direction of light.
- Textures & Props: Materials that define touch and sound and anchor the world.
Imagine you’re making an indie short about a haunted library. Your board splits into four parts: dusty parchment and candlelight for textures, warm browns and deep shadows for colors, hunched silhouettes for characters, and gothic arches for environments. Suddenly, the vision is structured—and everyone on your team sees the same story.
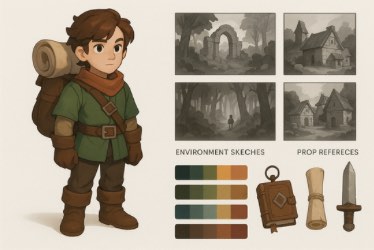
Character-Focused Mood Boards
Character boards capture personality first, then design details that support it. Pin expressive facial studies, silhouette cues, hairstyle explorations, clothing references, and a few material swatches that suggest status or role. These choices become a compass for acting, modeling, and even story beats.

Say your protagonist is a street musician. On the board, you drop quick sketches of hands strumming a guitar, scarves blowing in the wind, and boots scuffed from travel. Add color swatches of worn leather and denim. When you hand this to a modeler or animator, they know exactly what kind of life the character leads.
Environment-Focused Mood Boards
Environment boards establish atmosphere, scale, and story function before you build a single asset. Gather thumbnails of forests, cityscapes, or interiors; add lighting keys that show how mood shifts across the day; and include recurring motifs so spaces feel cohesive rather than random.
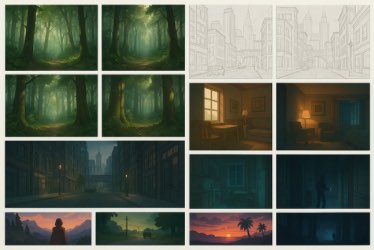
Imagine your story takes place in a futuristic train station. Your mood board shows glowing neon rails, reflections on polished metal floors, and sketches of rushing crowds. By including sunrise, midday, and nighttime lighting studies, you set up consistency—animators now know how the space should feel no matter the scene.
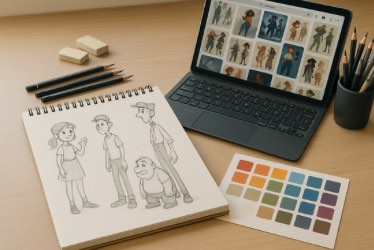
Digital Tools & A Simple Workflow
Mood boards work best when you build them with a repeatable workflow you’ll actually use. Here’s a simple loop that keeps the process efficient:
- Collect: Save references in one place to reduce hunting later.
- Cull: Remove images that don’t serve the story’s tone or purpose.
- Compose: Arrange into balanced sections by theme so the read is instant.
- Commit: Export a stable version to share in reviews and handoffs.
- Control: Update only when direction truly shifts—not every time you find a new image.
Think of yourself using a tablet during class. You pin character sketches on one side, screenshots of moody alleyways on the other, and highlight your hero palette in the corner. Every time you refine it, you export a JPEG to your project folder. Now your mood board becomes a living document instead of a messy pile of downloads.
Putting It All Together
A finished mood board is more than inspiration—it’s a style guide in disguise. Polish your layout with consistent margins, clear section labels, and just enough notes to guide decisions. Include your hero palette, two or three lighting studies, top character cues, and the environment anchors that define your world.
Now picture the first day of production. You pull up your polished board, and everyone from storyboard artists to lighters nod in agreement. With one glance, the direction is clear—and the endless debates are gone.
Want a printable mood board template you can reuse for every project?
Master Animation Faster with Bloop Courses

Learn the Art of Animation— Step by Step

Final Thoughts
At the start of a project, competing ideas can feel like chaos. A mood board takes that scattered energy and funnels it into clarity so you spend more time making and less time debating. When your vision is visible, your animation flows smoother, your team aligns faster, and your work shines brighter. A mood board isn’t decoration—it’s your alignment tool from day one.


