If you’ve been curious about animating on your phone, you don’t need a studio to begin. FlipaClip makes frame-by-frame animation accessible to anyone with a smartphone. With a few taps you can sketch ideas, test timing, and watch drawings move—so getting started feels playful instead of overwhelming. We’ll set up your first project, learn the core tools, animate a bouncing ball, and export it for sharing.
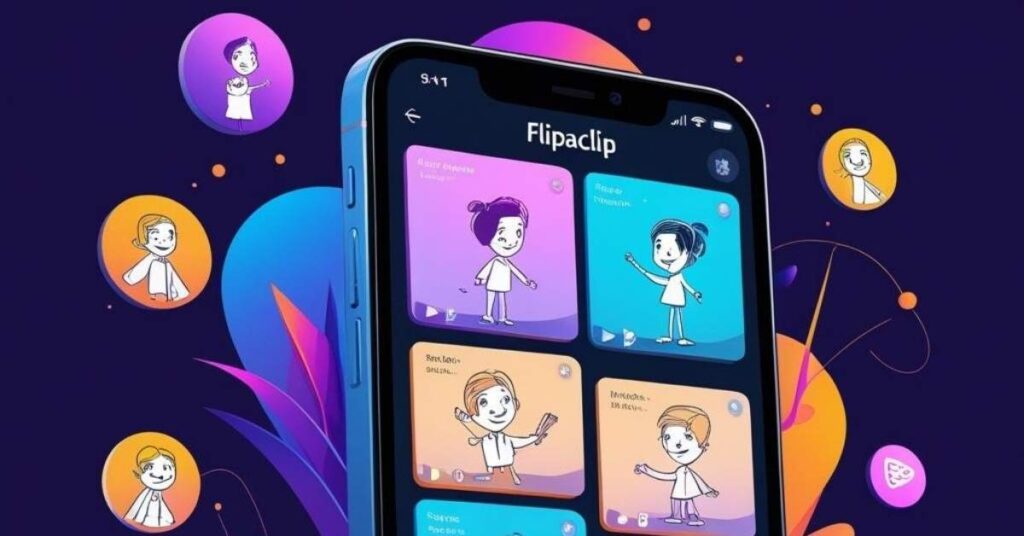
Why FlipaClip Is Perfect for Beginners
If you’re starting from zero, the right app should teach fundamentals without overwhelming you. FlipaClip focuses on classic frame-by-frame animation, which teaches timing, spacing, and control from the very first project. You draw one frame at a time, flip through them with onion skin enabled, and immediately see how small spacing changes create snappier or slower motion. Because everything happens on a single screen with familiar tools, you learn by doing and build confidence one frame at a time, which keeps momentum high as you practice.
Getting Started: Downloading and Setting Up the App
Before you draw, a quick setup choice will make your first animation smoother. Create a new project with a sensible canvas and frame rate so your first animation is smooth but manageable. After installing FlipaClip on iOS or Android, tap the plus button, name your project, choose a canvas (1080×1080 works well), and start at 12 fps for a beginner-friendly balance of smoothness and workload.
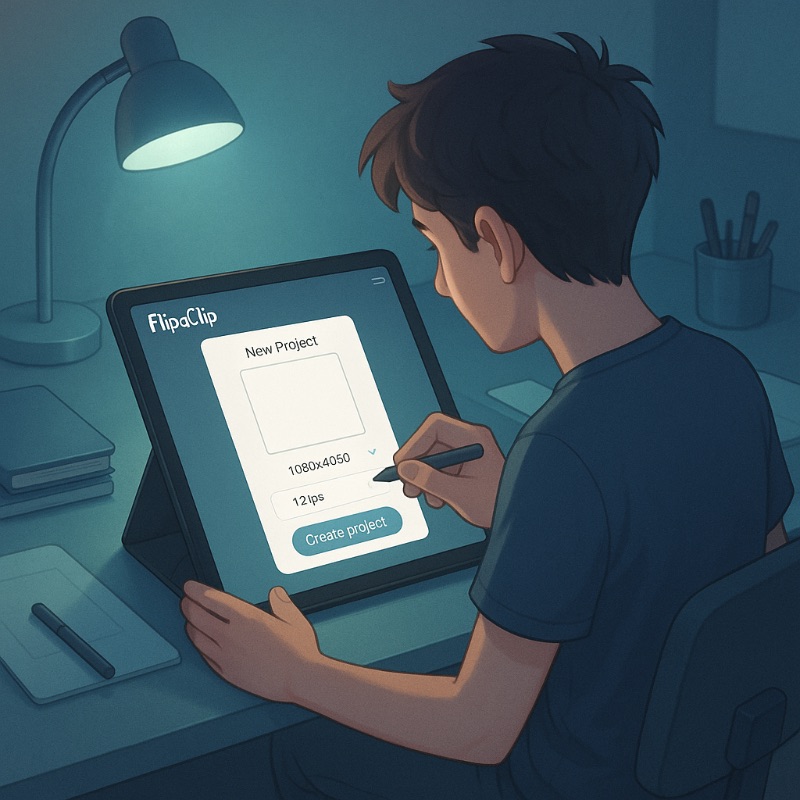
FlipaClip will open your first blank frame with the timeline visible, so you can begin drawing right away and build momentum without wrestling with setup screens.
Learning the Interface and Core Tools
A little orientation now saves time on every animation you make later. Master three essentials early: onion skin, layers, and the timeline. Use onion skin to see the previous and next frames faintly, add layers to separate roughs / linework / color, and rely on the timeline to duplicate, reorder, or delete frames quickly. Adjust brush size / opacity and try the fill tool on a separate layer, then preview often with Play so the relationship between drawing choices and motion stays crystal clear while you learn.
Animate Your First Bouncing Ball
Your first exercise should teach timing and weight without adding complexity. A simple bouncing ball teaches easing, squash and stretch, and believable gravity in minutes. Block in a circle at the top, duplicate the frame, move the ball downward a little farther each frame, and tighten spacing near the impact so it appears to accelerate; add a subtle squash on contact and a stretch on the rebound.

If you want structure beyond this quick start, practice sets help a ton—try a fundamentals course that drills timing and spacing while you work in FlipaClip: Bloop Animation (Beginner Track) or Artist School (Step-by-Step Programs). As you iterate, you’ll feel how spacing shapes the illusion of weight, and that muscle memory carries into every animation you make next.
Exporting and Sharing Your Animation
When you’re happy with playback, wrap it up cleanly so it’s easy to post. Export to MP4 or GIF and choose resolution and fps that fit where you’ll post. Tap Export, pick MP4 for social uploads or GIF for short loops, and set a practical resolution (e.g., 1080×1080) so quality stays sharp without huge files.
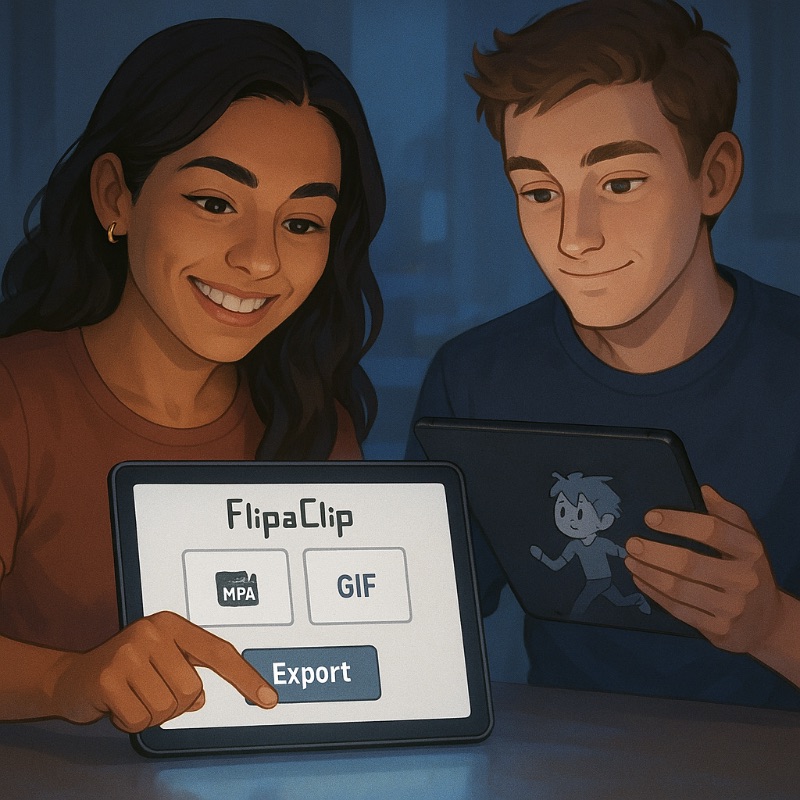
Once you’ve exported, preview your work on your device to ensure colors and timing look right before posting. Saving and sharing regularly helps you track progress over time, and posting quick wins builds a habit that keeps you animating week after week.
Master Animation Faster with Bloop Courses

Learn the Art of Animation— Step by Step

Final Thoughts
Before you wrap up, remember what makes all this worthwhile. Animation isn’t about fancy software—it’s about moving ideas, one frame at a time. Start tiny, preview often, and let exercises like the bouncing ball sharpen your eye for timing and spacing; with FlipaClip in your pocket, consistent practice becomes the easiest habit you’ll form.


