Why Walk Cycles Are a Must-Learn
If you’re just getting started with animation, walk cycles are one of the best exercises you can do. Why? Because walking is deceptively complex—it involves weight, rhythm, balance, and personality—all wrapped into a repeating loop. Learn how to animate a convincing walk, and you’ll have unlocked a major milestone in your journey as a storyteller.
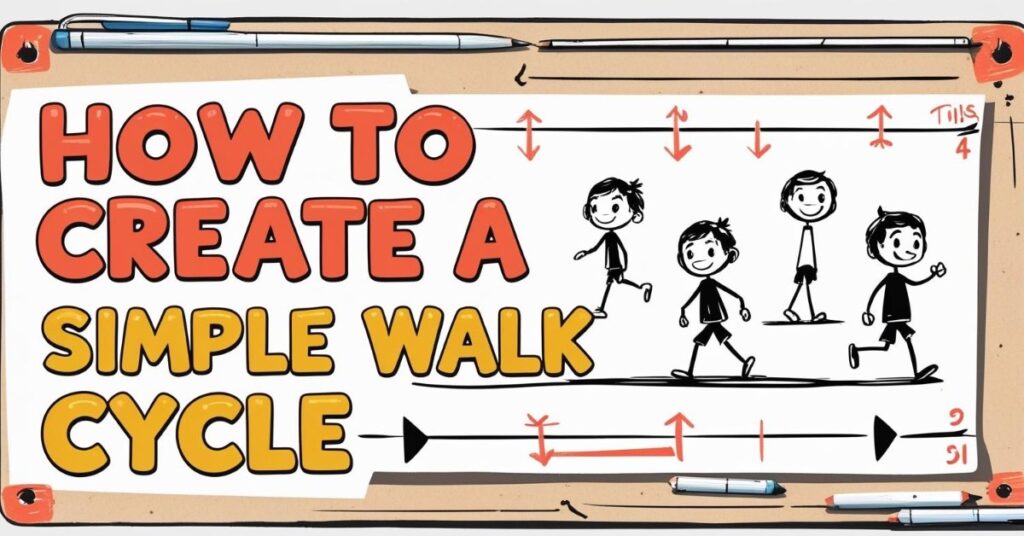
The 4 Key Poses in a Walk Cycle
Before diving into drawing, it helps to understand the key poses that make up a basic walk cycle. In a simple two-step cycle, there are 4 main positions:
- Contact: One foot is about to land while the other is lifting off the ground.
- Down: The character’s weight drops as the leading foot takes the body’s weight.
- Passing: The back foot passes the planted one as the hips shift.
- Up: The heel lifts off the ground, pushing the body forward into the next step.
Each of these stages adds to the illusion of weight and movement. Once you nail these, you can build the in-betweens.
How to Animate Your First Walk Cycle
You can use paper, a whiteboard, or apps like FlipaClip or Krita. Here’s a beginner-friendly workflow:
- Step 1: Sketch your character in a neutral standing pose for reference.
- Step 2: Draw the Contact pose—one foot forward, the other back, arms swinging in opposition.
- Step 3: Add the Down pose with the front leg bent and body lower to the ground.
- Step 4: Draw the Passing pose—legs passing each other, body at mid height.
- Step 5: Add the Up pose with the heel lifted and body rising slightly.
- Step 6: Mirror the first 4 poses for the second half of the walk cycle.
- Step 7: Test your animation. Adjust timing and spacing until it flows naturally.
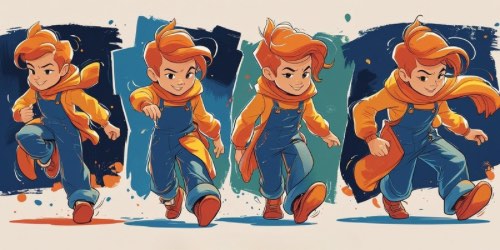
Keep your first walk simple. Stick figures or blob characters work great when you’re learning. The goal is movement, not detail.
Tips to Make Your Walk Look Better
- Use references: Watch people walk or film yourself for a clearer sense of timing.
- Add a bounce: A little vertical motion makes the walk feel more alive.
- Don’t forget the arms: Arms swing opposite to the legs and help balance the movement.
- Personality counts: A slouchy walk, a confident strut, or a tired shuffle all tell different stories.
A walk cycle can be more than just motion—it can be character in action.
Final Thoughts
Walk cycles are a rite of passage for animators. They teach rhythm, timing, and how the whole body works together. Start with the basics, don’t worry about making it perfect, and most importantly—enjoy the process. Once you’ve got the hang of it, try adding attitude or emotion to give your character a story with every step.
Here are some great tools to support your practice and level up your skills:
Master Animation Faster with Bloop Courses

Learn the Art of Animation— Step by Step


