Procreate has become a household name for digital drawing, available as an iPad app from the Apple App Store. Think of it like a sketchbook you can always carry with you—fast to open, easy to doodle in, and surprisingly capable when inspiration hits. With Animation Assist built in, it’s also a surprisingly good entry point for animation. The real question is what it does well, where it hits limits, and when you should switch tools.
What Procreate Can Do Well
Procreate’s Animation Assist turns layers into frames with onion skinning and a simple timeline. For quick loops, blink cycles, logo flourishes, and hand-drawn experiments, it’s fast, friendly, and perfect for learning timing and spacing without a heavy app. It’s like training wheels for animation—simple, but effective in teaching you balance.
Where Procreate Starts to Struggle
Longer shots, lip-sync, audio tracks, camera moves, and complex multi-scene projects push beyond Procreate’s comfort zone. That’s when a timeline-driven tool (or Procreate Dreams) makes life easier for sound, edits, and bigger sequences.

Think of Procreate as your sketchbook-plus: ideal for roughs and short loops. When the shot grows—more characters, sound, or cuts—graduate to a fuller editor. It’s not a bad thing; it just means the tool did its job and got you ready for more.
Procreate vs. Procreate Dreams
Procreate shines at frame-by-frame sketching and tiny loops. Procreate Dreams adds a full timeline, audio/video tracks, and keyframing so you can cut scenes, add sound, and polish without workarounds. Many artists rough in Procreate and finish in Dreams or another editor. It’s the difference between jotting notes on a napkin and typing a polished draft in a studio—both matter, but they serve different stages of the process.
Recommended Workflow (Beginner-Friendly)
- Start tiny. One idea at 12–24 fps (bounce, blink, sway) for 1–2 seconds.
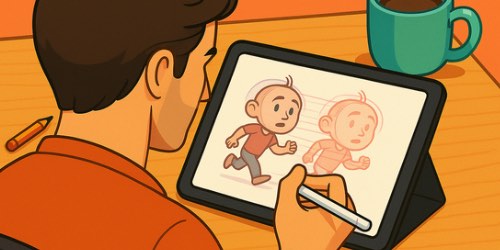
- Rough in Procreate. Keys → breakdowns → in-betweens; keep silhouettes clean and spacing readable.
- Polish where needed. If you need sound, cuts, or longer timing, move to Dreams or an editor.
Short loops build timing muscle quickly. When you hit the ceiling, carry your roughs into a timeline-driven app and keep going. The key is progress—every loop teaches you something, no matter how small.
Want a structured way to practice loops on iPad while building real fundamentals?
Master Animation Faster with Bloop Courses

Learn the Art of Animation— Step by Step

Bloop Animation – iPad Animation course (includes Procreate workflow)
Final Thoughts
Yes—Procreate is good for animation when the scope is tight. Use it to learn timing, spacing, and appeal with quick frame-by-frame loops, then step into Dreams or a full editor when your shot needs audio, cuts, or more control. It’s a stepping stone, not the whole staircase—and that’s what makes it so valuable when you’re starting out.


