Before we explore Krita, it helps to set a calm path so your first session feels focused and manageable. Krita is a free, open-source app that supports frame-by-frame animation, from first install to final export, with simple tools, onion skinning, timelines, and layer-based workflows that build confidence one session at a time. In this guide you will learn the following:
- Who benefits most from Krita;
- How to install and launch it safely;
- How to set a crisp animation canvas;
- How to arrange your workspace for timelines and layers;
- Which day-one animation tools to practice;
- How to organize layers for clean edits;
- How to steady drawn frames with brushes and smoothing;
- How to tune a tablet so strokes feel natural;
- How to save and export animations without surprises;
- How to fix common beginner issues; and
- How to complete a small first animation that locks in your progress.
Nathan is a first-time Krita user who will create a short looping exercise to learn timelines, onion skinning, stabilization, and clean video export. He will follow each section to set up his scene, arrange panels, choose day-one tools, and finish a shareable loop with confidence. This roadmap keeps your energy on motion and timing rather than menus so every step leads naturally to the next one.
Walkthrough (5 min):
Who Krita Is For
Many new animators need a tool that is kind, capable, and free so practice can start today without complicated decisions. Krita suits beginners who want professional animation features with friendly defaults and zero cost while they learn timing, spacing, clean lines, and reliable export habits.
Krita hits a rare balance between power and approachability because it keeps essential animation features close at hand while hiding complexity until you need it. You get a timeline, onion skinning, layers, and brush stabilizers without subscriptions or device lock-in, which makes daily practice sustainable and portable across computers. When that foundation is clear, it is easier to imagine a first animated loop that feels achievable. Nathan fits this profile perfectly and chooses a simple bouncing-ball loop so he can build habits without buying software or advanced hardware. You can rough poses, test timing, and preview motion on a modest laptop with a basic tablet so your attention stays on arcs and spacing. This match between tool and task reduces friction and encourages short daily sessions that compound into real skill.
Install And Launch Without Friction
A smooth start creates trust in your setup and removes reasons to postpone practice. Download Krita from the official site, choose the current stable build for your system, complete the installer, and open the Animation workspace so the timeline and onion skin controls are ready every time you return.
The official installer supplies verified builds, predictable updates, and presets that match the documentation, which prevents early crashes and cosmetic mismatches that can waste time. Pinning Krita to your taskbar or dock shortens the distance from idea to action and turns quick five-minute animation drills into a routine. With that base in place, Nathan downloads the latest stable build on his laptop, pins Krita to the taskbar, switches to the Animation workspace, and opens a fresh file to begin his loop. Installing from the official source keeps updates predictable and reduces crashes that can interrupt early momentum. Pinning Krita to your dock or taskbar makes it easy to open for quick timing tests that add up over the week.
Set Up Your First Animation Canvas
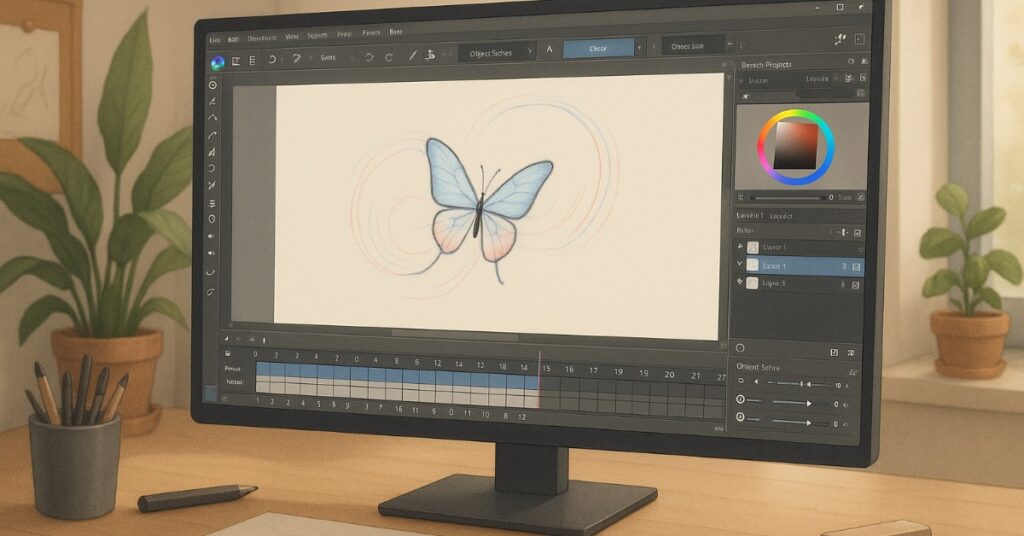
Preparation prevents export issues and gives you a reliable foundation for every animation you make. Create a new document at 1920 by 1080 pixels for widescreen or 1080 by 1080 pixels for square loops, set frame rate to 12 or 24 frames per second, and enable the Animation docker so the timeline is visible.
A sensible preset removes guesswork about size, frame rate, and visibility so you can focus on poses and spacing. Square formats suit social posts, while 1920 by 1080 keeps motion crisp for larger displays. With sizing and frame rate clear, Nathan selects 1080 by 1080 at 12 frames per second so he can sketch fewer frames while keeping motion readable. These choices keep files light while preserving clarity for web sharing so you can focus on animating instead of troubleshooting settings.
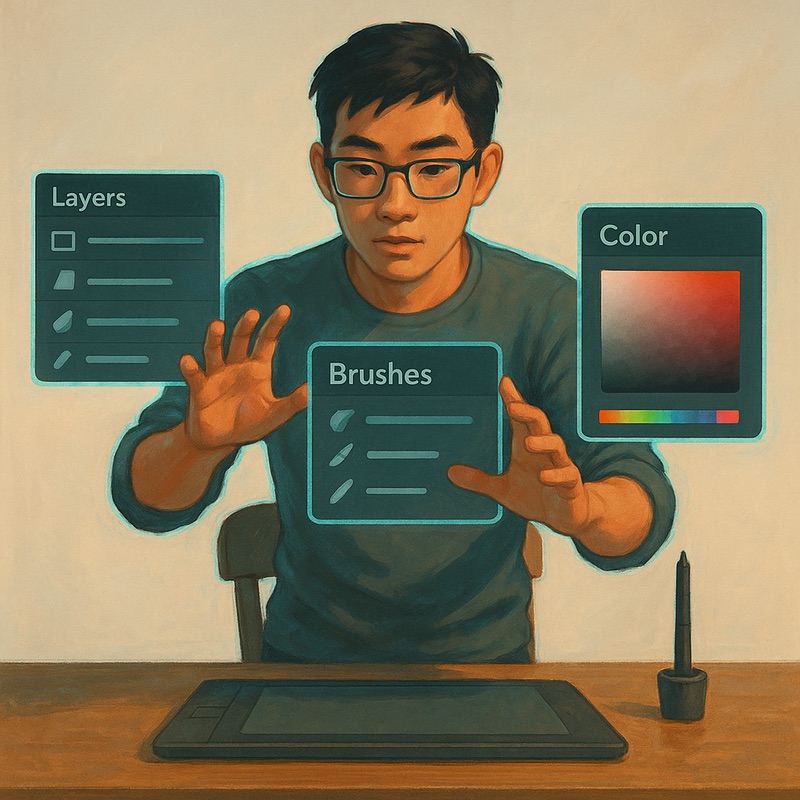
Know Your Workspace And Panels
A calm interface helps you find tools quickly and keeps motion front and center. Use the Animation workspace, place the Tools docker on the left, keep Layers, Timeline, and Brush Presets on the right, and save the layout as a custom workspace so it loads the same way every time.
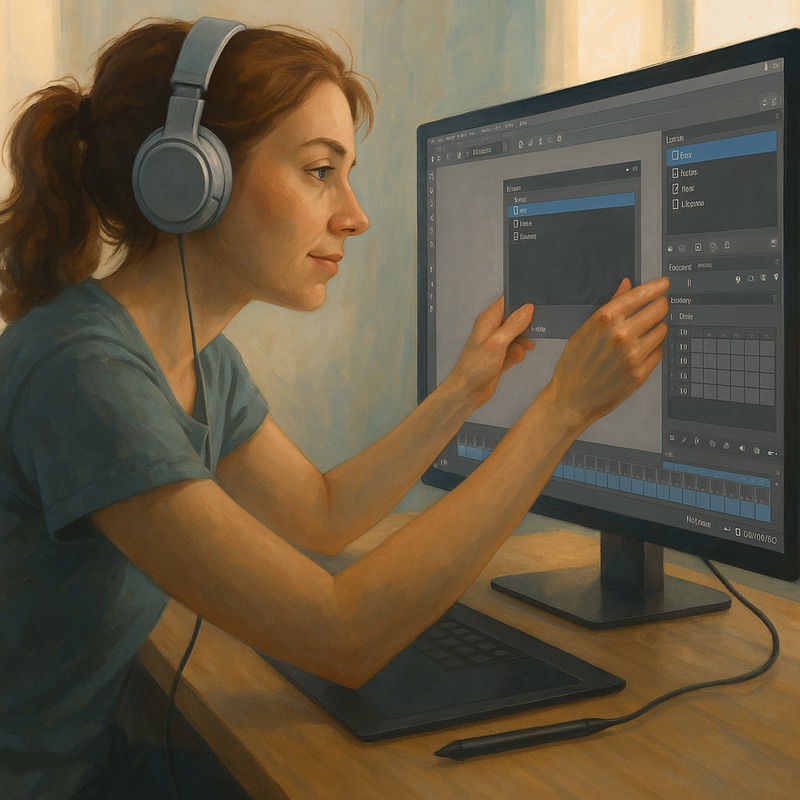
Saving the layout creates a predictable studio that greets you the same way every session, which builds muscle memory and shortens the pause between intention and mark. Labeling and docking your most used animation panels keeps your canvas large and your eyes on the timing. With a stable layout decided, Nathan docks Layers above the Timeline and keeps Brush Presets nearby, then saves a custom workspace named “Ball Loop” so panels stay put between sessions. Consistency builds muscle memory and shortens the time between an idea and a test so your practice feels smooth and focused.
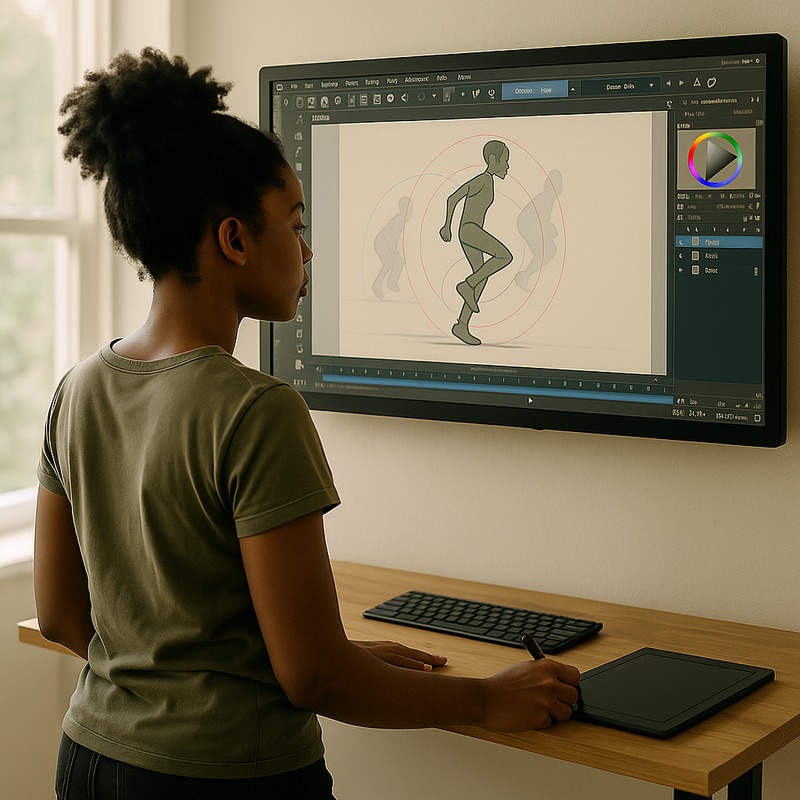
Essential Animation Tools For Day One
Limiting choices on the first day leads to cleaner timing and faster learning because fewer options mean fewer detours. Use the Brush tool for rough frames, toggle onion skin to see previous and next drawings, rely on the Timeline to add, duplicate, and reorder frames, and use the Move tool only when spacing needs a small nudge. Focus on one sketch brush, the onion skin controls, and a simple timing preview so you build control before expanding your kit. Keeping tool switches minimal reduces hesitation and turns attention toward arcs, spacing, and beats. With that constraint set, Nathan roughs the key poses for the bounce, duplicates frames for passes, and previews often to feel the rhythm. This small toolkit teaches the core motions of animation and makes progress easy to see from one session to the next. Practicing with intention helps you progress steadily and avoid tool chasing that slows learning.
Layers That Keep Revisions Reversible
Good layer habits give you courage to experiment because changes are easy to undo without losing work. Keep roughs on one layer group, line cleanup on a new group above, and color or shadows in groups underneath, and name layers clearly so you can toggle visibility and fix errors without starting over.
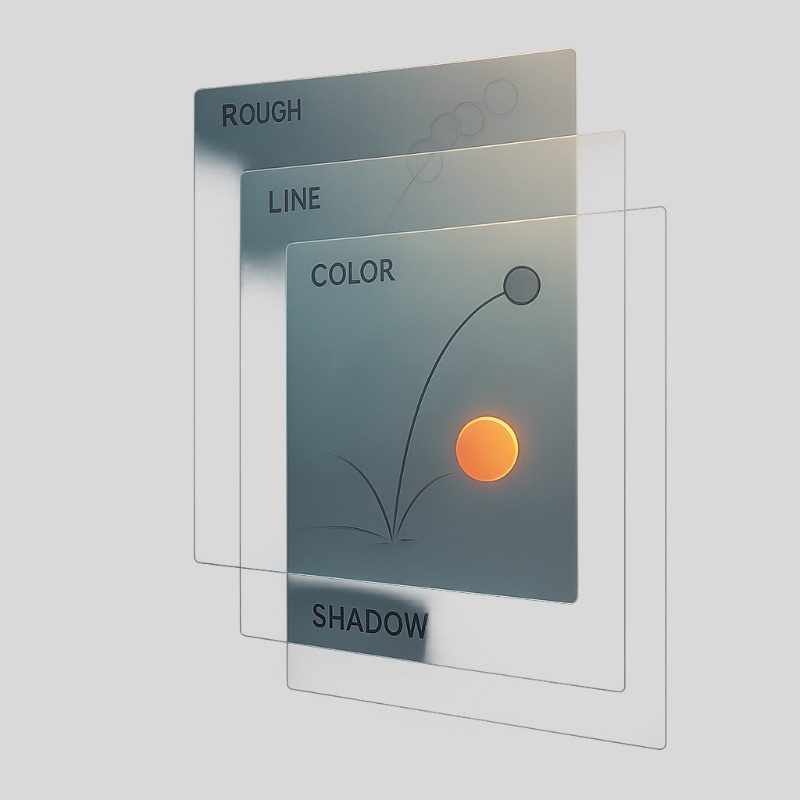
Layer groups for rough, clean, and color create a safety net that invites bolder timing tests and painless corrections. Keeping guides separate from clean frames protects contours while you adjust spacing. With this structure ready, Nathan roughs on a “Roughs” group, cleans lines on a “Lines” group above, and adds a soft ground shadow on a layer below so adjustments never damage his clean frames. Working non-destructively speeds iteration and leads to cleaner motion that rewards patience and practice.
Brushes And Stabilizers For Smooth Frames
Clean arcs come from deliberate strokes supported by helpful settings that reduce wobble without hiding intent. Choose a simple round brush for roughing, pick a pressure-sensitive ink brush for clean frames, and enable Stabilizer or Weighted smoothing so slow confident strokes become crisp and consistent across poses.
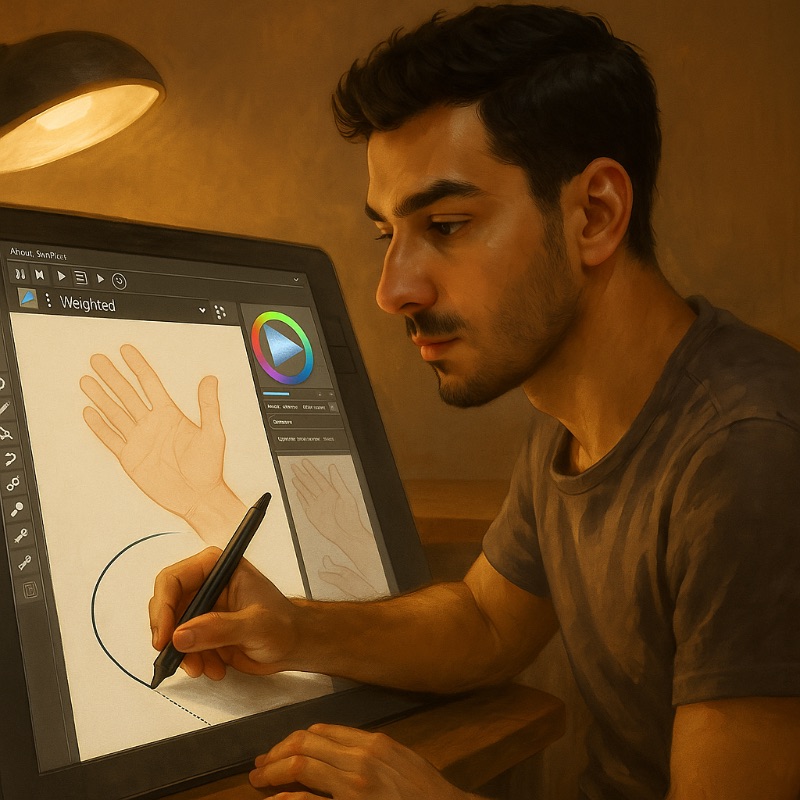
Stabilizers reduce jitter by averaging your motion so arcs and contact frames feel confident, especially at slower strokes. Pairing a pressure-responsive brush with light smoothing preserves personality while calming shaky edges. With that dialed in, Nathan enables Weighted smoothing and traces his keys and breakdowns with steady arcs so the path of action stays clear. This combination rewards control, improves spacing clarity, and builds confidence that carries into more complex shots. Keeping a short warm-up of circles and timing ticks makes your lines steadier every week.
Tablet Setup That Feels Natural
Your hand should trust what you see so line weight and timing notes follow your intent rather than a random curve. Install the tablet driver, set a medium pressure curve, map pen buttons to right-click and temporary pan or rotate canvas, and disable unwanted gestures so Krita reads input cleanly without surprise jumps.
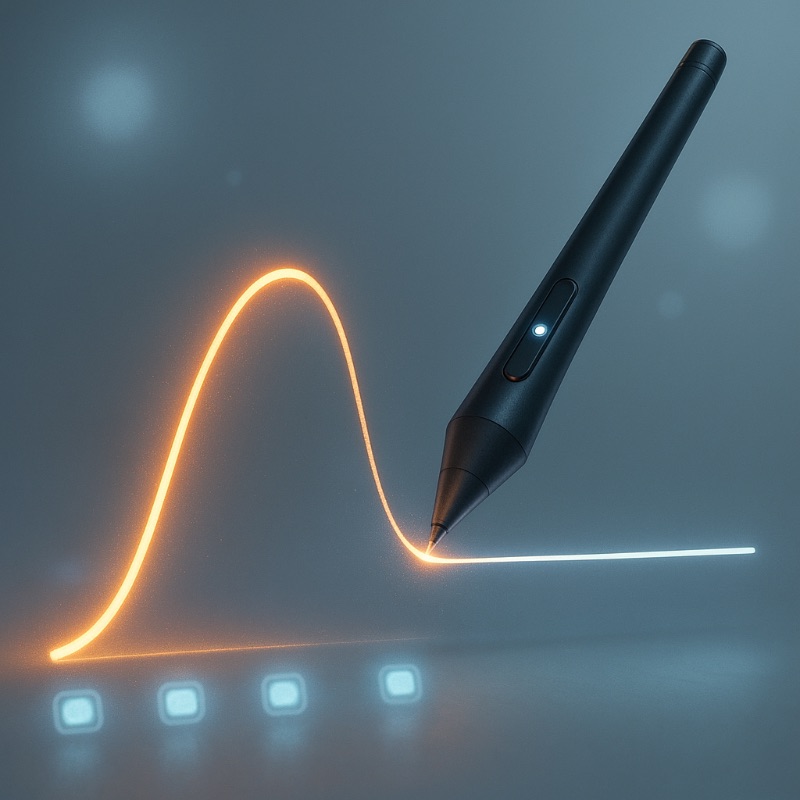
A medium pressure curve gives a wide expressive range without fighting the tablet, while smart pen mappings reduce menu diving during roughing and cleanup. Checking drivers after updates prevents silent changes that flatten line quality. With comfort established, Nathan sets a medium pressure curve so light touch makes thin timing notes and firmer pressure thickens edges on clean frames. Saving the driver profile locks in the feel you prefer and keeps sessions consistent across projects.
Save And Export Animation Without Surprises
Protecting your work is part of the craft and it should feel simple and repeatable every time. Save your working file as a KRA to preserve layers and frames, preview with the built-in playback, and export as MP4 or GIF at your project frame rate so motion matches your timeline. Versioning your files guards against accidental overwrites and makes progress measurable across weeks. Exporting both MP4 and GIF covers social sharing and quick reviews without redoing settings each time. With a tidy habit in place, Nathan saves ball_loop.kra, previews playback in Krita, exports an MP4 for quality, and a small GIF for messaging feedback. Clear file habits reduce stress and make it easy to revise timing next week without rebuilding it from scratch. Building a short end-of-session checklist helps you close projects cleanly and confidently.
Common Animation Pitfalls And Quick Fixes
Small adjustments fix most early frustrations and keep sessions productive from start to finish. If motion looks floaty, tighten spacing near impacts and loosen spacing on the rise, if lines wobble, increase brush smoothing and draw slower, if playback stutters, reduce canvas size or limit onion skin layers while roughing. Troubleshooting improves faster when you change one variable at a time and note what helped so your next session starts stronger. Spacing tweaks, stabilization, and performance settings are simple levers that restore control in minutes. With that mindset, when Nathan sees a mushy bounce, he adds more frames around the squash and removes extras on the ascent to regain snap. These quick checks restore control and help you finish loops that show visible progress. Treat each fix as a note for your next session and you will see friction drop quickly.
A Simple First Animation That Builds Momentum
Completing an easy loop turns practice into proof that you can start and finish an animation with confidence. Rough the key poses, add breakdowns that follow a clean arc, in-between lightly to smooth spacing, ink the final frames on a clean layer, and export a short looping MP4 or GIF to mark your milestone. A compact exercise limits decisions and highlights core skills like timing, spacing, arcs, and consistency. Repeating this project a few times reveals cleaner keys, clearer breakdowns, and smoother loops. With a clear checklist to follow, Nathan works through the sequence so each step builds on the last and ends with a clean, shareable loop. This sequence teaches timelines, onion skinning, stabilization, and export in one sitting so your next shot begins from a stronger place. Saving the result next to your next three loops shows visible improvement that keeps motivation high.
Want structured drills that pair well with Krita and help you practice smarter rather than longer
Master Animation Faster with Bloop Courses

Learn the Art of Animation— Step by Step

Final Thoughts
A steady workflow and a friendly toolset make learning animation feel achievable so practice becomes a habit rather than a struggle. Krita gives beginners a reliable path from installation to final render with readable timelines, clear onion skinning, steady brushes, and dependable saving so each session ends with a visible win. You now know who thrives with Krita, how to install and launch without friction, how to set an animation canvas and frame rate, how to arrange your workspace around the timeline, which day-one animation tools to practice, how to organize layers and groups for clean revisions, how to steady lines for consistent frames, how to save and export MP4 and GIF safely, how to troubleshoot common timing and performance issues, and how to finish a small loop that locks in your learning. Nathan’s final animation shows clean arcs, readable spacing, tidy layer groups, and reliable exports that he can compare against future shots to measure growth. Carry this map into your next session with a short warm-up and you will see consistent improvements that build week after week.


